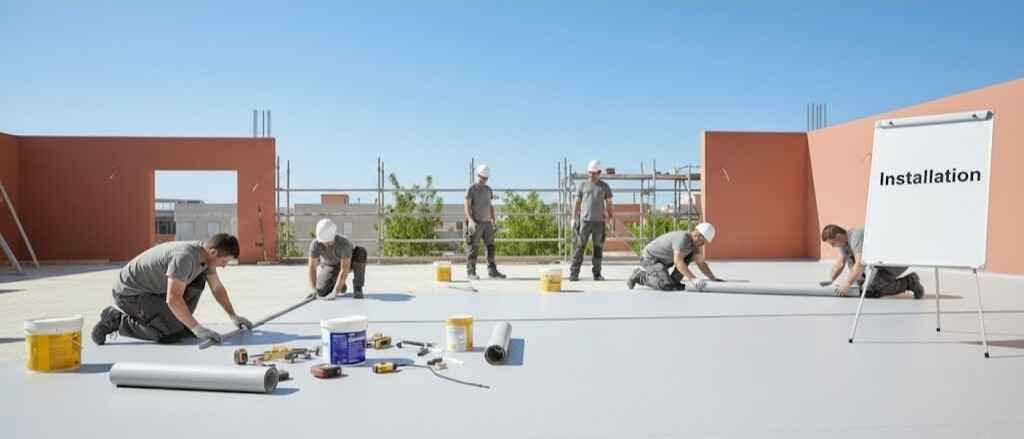
Today, Homogeneous vinyl flooring is a popular and reliable choice for commercial spaces, hospitals, schools, offices, and shops. Its single-layer design makes it strong, stable, and smooth, which is perfect for areas with heavy use. Even the best flooring can have problems if it is not installed correctly. Proper installation helps the floor last longer, look good, and resist water, scratches, and damage.
A successful installation needs skill, careful preparation, and the right methods. Every step, from checking the subfloor and choosing adhesives to cutting edges and heat-welding seams, is important for a perfect result. Whether you are a professional installer or managing a flooring project, knowing these steps will help you get a strong and long-lasting finish.
In this article, we will guide you through essential professional tips for installing homogeneous flooring. You will learn how to prepare the subfloor, choose the right tools, take accurate measurements, and complete the installation efficiently.
Homogeneous vinyl is manufactured from a single layer of vinyl that extends throughout the material. This uniformity ensures consistent color and pattern even when the surface is worn over time. Compared to heterogeneous flooring, which contains multiple layers, homogeneous sheets have a more solid composition and make an excellent choice for heavy-use spaces.
Before installing, it is important to know the thickness, flexibility, and weight of the flooring. These factors affect how easy it is to cut, place, and fit the sheets around edges and corners. Installers should unroll and check each sheet to make sure there are no defects, color differences, or surface damage.
Additionally, understanding the material also helps in choosing the right adhesive and installation method. Some vinyl sheets need heat welding for seamless edges, while others work better with cold welding. Knowing these details makes the installation easier and helps avoid mistakes.
A strong and long-lasting installation starts with a well-prepared subfloor. Homogeneous vinyl needs a clean, level, dry, and smooth surface to perform well. Any bumps or uneven spots can show through the sheet because it is thin. That is why professional installers spend a lot of time preparing the base before laying the flooring.
Begin by clearing all dust, dirt, old adhesive, and any damaged flooring. Repair cracks and fill gaps with good-quality leveling compounds. Make sure the floor is completely flat, as any dips or bumps can affect how the vinyl looks and lasts. Test for moisture to ensure the subfloor is safe for installation.
After the surface is even, sanded, and clean, apply a primer if needed. Priming helps the adhesive stick better and prevents lifting or bubbling later. Preparing the subfloor properly is very important and directly affects the final result of the installation.
Before installation, homogeneous vinyl sheets should adjust to the temperature and humidity of the area. This usually means unrolling the sheets and leaving them in the space for at least 24 hours. This helps prevent the flooring from expanding or shrinking after it is installed.
Temperature changes can affect how easy the sheets are to cut and place. When the vinyl is properly conditioned, it becomes flexible and easier to fit around walls, corners, and fixtures, giving a smooth and seamless finish.
Professionals use certain tools to make sure the installation is clean and accurate.
Some of the most important tools are:
Using the right tools makes the work faster, safer, and easily finished to a professional standard.
Accurate measurements are key to a smooth installation. Homogeneous vinyl sheets come in large rolls, so mistakes in measuring can cause wasted material and noticeable errors. Professionals measure the space at several points because walls and corners are not always perfectly straight. This helps ensure each sheet is cut precisely.
After confirming the measurements, cut the vinyl using a sharp utility knife. Clean and smooth cuts help the sheets fit tightly against the walls without gaps. Do not force the material, as this can cause jagged edges or stretching. Always cut slowly and follow the measurement lines
Always leave a small allowance around the edges for trimming during final fitting. This makes the sheets fit well on uneven walls.
Applying adhesive correctly is key to a smooth and durable vinyl installation. Spread the adhesive evenly with a notched trowel to avoid bubbles, loose spots, or early wear. Allow the adhesive to become slightly tacky before placing the vinyl sheet, as this ensures a stronger and longer-lasting bond.
After placing the vinyl, roll it firmly with a flooring roller. This pushes out trapped air and makes sure the sheet sticks fully to the floor. Correct adhesive use and careful rolling keep the flooring secure, prevent bubbles or gaps, and ensure a smooth, even, and professional-looking finish that lasts for years.
After spreading the adhesive, place the vinyl sheet carefully on the prepared surface. Start at one end and gently roll it into place, making sure it lines up with your marks. Professionals do not drag the sheet, as this can disturb the adhesive and cause wrinkles or poor bonding.
After laying the sheet, smooth it from the center to the edges to push out any air. This makes the sheet stick firmly and prevents bubbles. If bubbles appear, lift and reset the sheet right away before the adhesive dries.
During positioning, pay special attention to corners, doorways, and fixtures. These areas need careful adjustments to keep a clean and seamless look. Correct placement now helps the installation stay flat and secure for years.
Seams are very important in homogeneous vinyl sheet installations. A bad seam can let moisture in, weaken the adhesive, or spoil the look of the floor. That is why professionals carefully align the sheets where two rolls meet. Overlapping seams should be avoided unless the manufacturer allows it.
After aligning the seams, use a seam groover to make a channel for the welding rod. This helps the weld become strong and long-lasting. A correctly grooved seam gives a professional finish and prevents the sheets from separating later.
Finally, use a welding gun to heat-weld the seam. Apply even heat and pressure while filling the groove with the welding rod. When done correctly, the weld becomes almost invisible and forms a long-lasting waterproof seal that protects the flooring from spills and stains.
Heat welding is a key step in commercial vinyl sheet flooring installation. It makes the seams watertight and strong enough to handle heavy foot traffic. Professionals control the welding temperature based on vinyl thickness and manufacturer instructions. Too much heat can burn the material, while too little can make the weld weak.
After the first pass, let the seam cool before trimming the extra rod. Use a sharp knife to make a smooth and even finish. This final step helps the welded joint blend seamlessly with the rest of the floor.
To ensure full adhesive contact and eliminate hidden air pockets, professionals use two types of rollers:
Rolling the floor at the right time makes the adhesive stronger and stops lifting or bubbles. It also helps the sheet stay in place without moving and ensures a smooth, even surface for a long-lasting finish.
Once the sheet is securely bonded, the next step is to trim the edges for a clean and precise finish. Use a sharp blade to remove extra material along walls, door frames, pillars, or fixtures. Cut slowly to avoid damaging the sheet or making uneven lines.
After trimming, install skirting or a cover base if needed. These finishing pieces protect the wall-floor joint and give a neat, professional look. In healthcare and cleanroom areas, covered edges are recommended for better hygiene and easier cleaning.
Proper trimming and finishing make the installation look neat and help it last longer. Clean edges also stop moisture, dust, and debris from building up along the sides.
Even experienced installers can make mistakes if they rush or skip important steps. A common error is not preparing the subfloor properly, which can cause visible flaws under the vinyl. Another mistake is using too much or too little adhesive, which affects how well the sheet sticks and how long it lasts.
Misaligned seams are another common problem. They can spoil the look of the floor and make it less resistant to moisture. Always check seam placement carefully before welding to avoid expensive fixes later.
Temperature and humidity are very important. Installing vinyl in a place that is too cold or too humid can cause it to expand, shrink, or stick unevenly. Allowing the vinyl to adjust to the environment and controlling the climate helps prevent these problems..
Once the installation is complete, it is important to conduct a detailed inspection. Check for bubbles, wrinkles, or loose edges that need fixing. Look closely at the seams to make sure the welding is smooth, secure, and even everywhere.
Also check the overall appearance, alignment, and cleanliness of the floor. Fixing small issues during inspection prevents future problems and ensures a perfect finish.
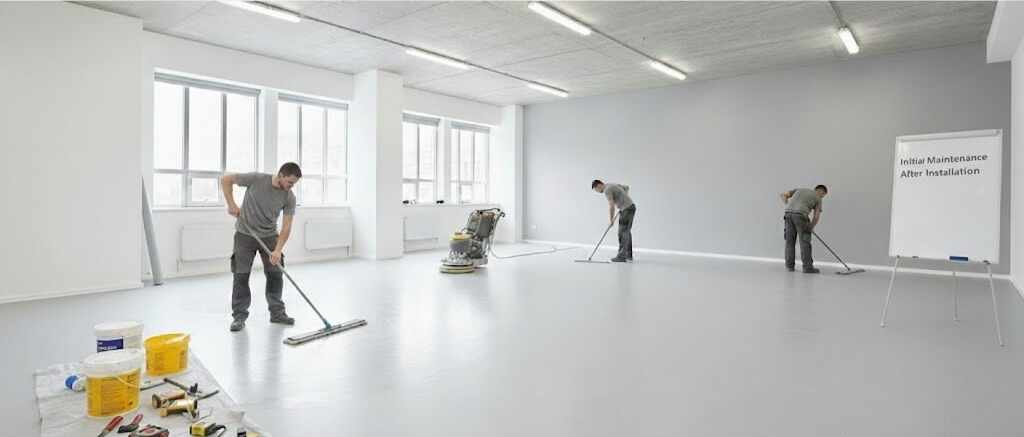
Homogeneous vinyl flooring needs proper care right after installation to last longer. Let the sheets settle for 24 to 48 hours before heavy use. Keep the floor away from water or moisture during this time. When it is ready for cleaning, follow the manufacturer for guidance and use mild cleaners with soft tools to protect the surface and keep it smooth and polished.
After installing homogeneous vinyl flooring, it is important to let it settle for a full day or two before heavy traffic. During this period, avoid washing or exposing the floor to moisture. Once the adhesive has fully set, clean the surface gently using mild cleaners and soft tools to protect the floor and keep it looking its best.
Professional installation of homogeneous vinyl flooring needs careful preparation, accuracy, and the right methods. Every step, from preparing the subfloor to welding seams and rolling the floor, is important for durability, hygiene, and long-lasting performance. When done correctly, the flooring gives excellent results, with a smooth, seamless finish that can handle heavy use in commercial, healthcare, and educational spaces.
Ensuring homogeneous vinyl flooring is installed properly is important for both durability and appearance. Each step, from leveling the subfloor to welding seams and rolling the floor carefully, helps achieve a strong and perfect finish. When installed correctly, this flooring can handle heavy traffic and provides a clean, low-maintenance surface that improves the look and hygiene of commercial, healthcare, and educational spaces.
Answer: With proper installation and regular care, it usually lasts 15 to 40 years or more.
Answer: Yes, when the seams are heat-welded correctly, the flooring becomes very water-resistant and ideal for these areas. But please make sure the subfloor is dry before installation.
Answer: The ideal temperature is usually 18°C to 27°C for proper bonding and flexibility.
Answer: Although DIY installation is possible, professional installers ensure perfect seams, strong bonding, and a long-lasting finish.
Answer: Light cleaning can be done after 48 hours, but avoid heavy cleaning or wet washing until the adhesive is fully cured.
Copy right by Longda China